How Adligator is organised — sidebar, tabs, and what lives where
Ad Search, Trackers and Collections in the sidebar; Ad Results, FB Pages, Analytics and Partnerships as tabs inside them. What each one is for, and which to open for the job you actually have.
Adligator has three places in the left sidebar and a small set of tabs inside each of them. New users sometimes try to do everything from Ad Search and miss half the value. This article is the map.
If you have already run your first search, use this as a tour of where to go next. If you have not, start there — most of this only makes sense once a grid of ads is on the screen.
The shape of the app, in one paragraph
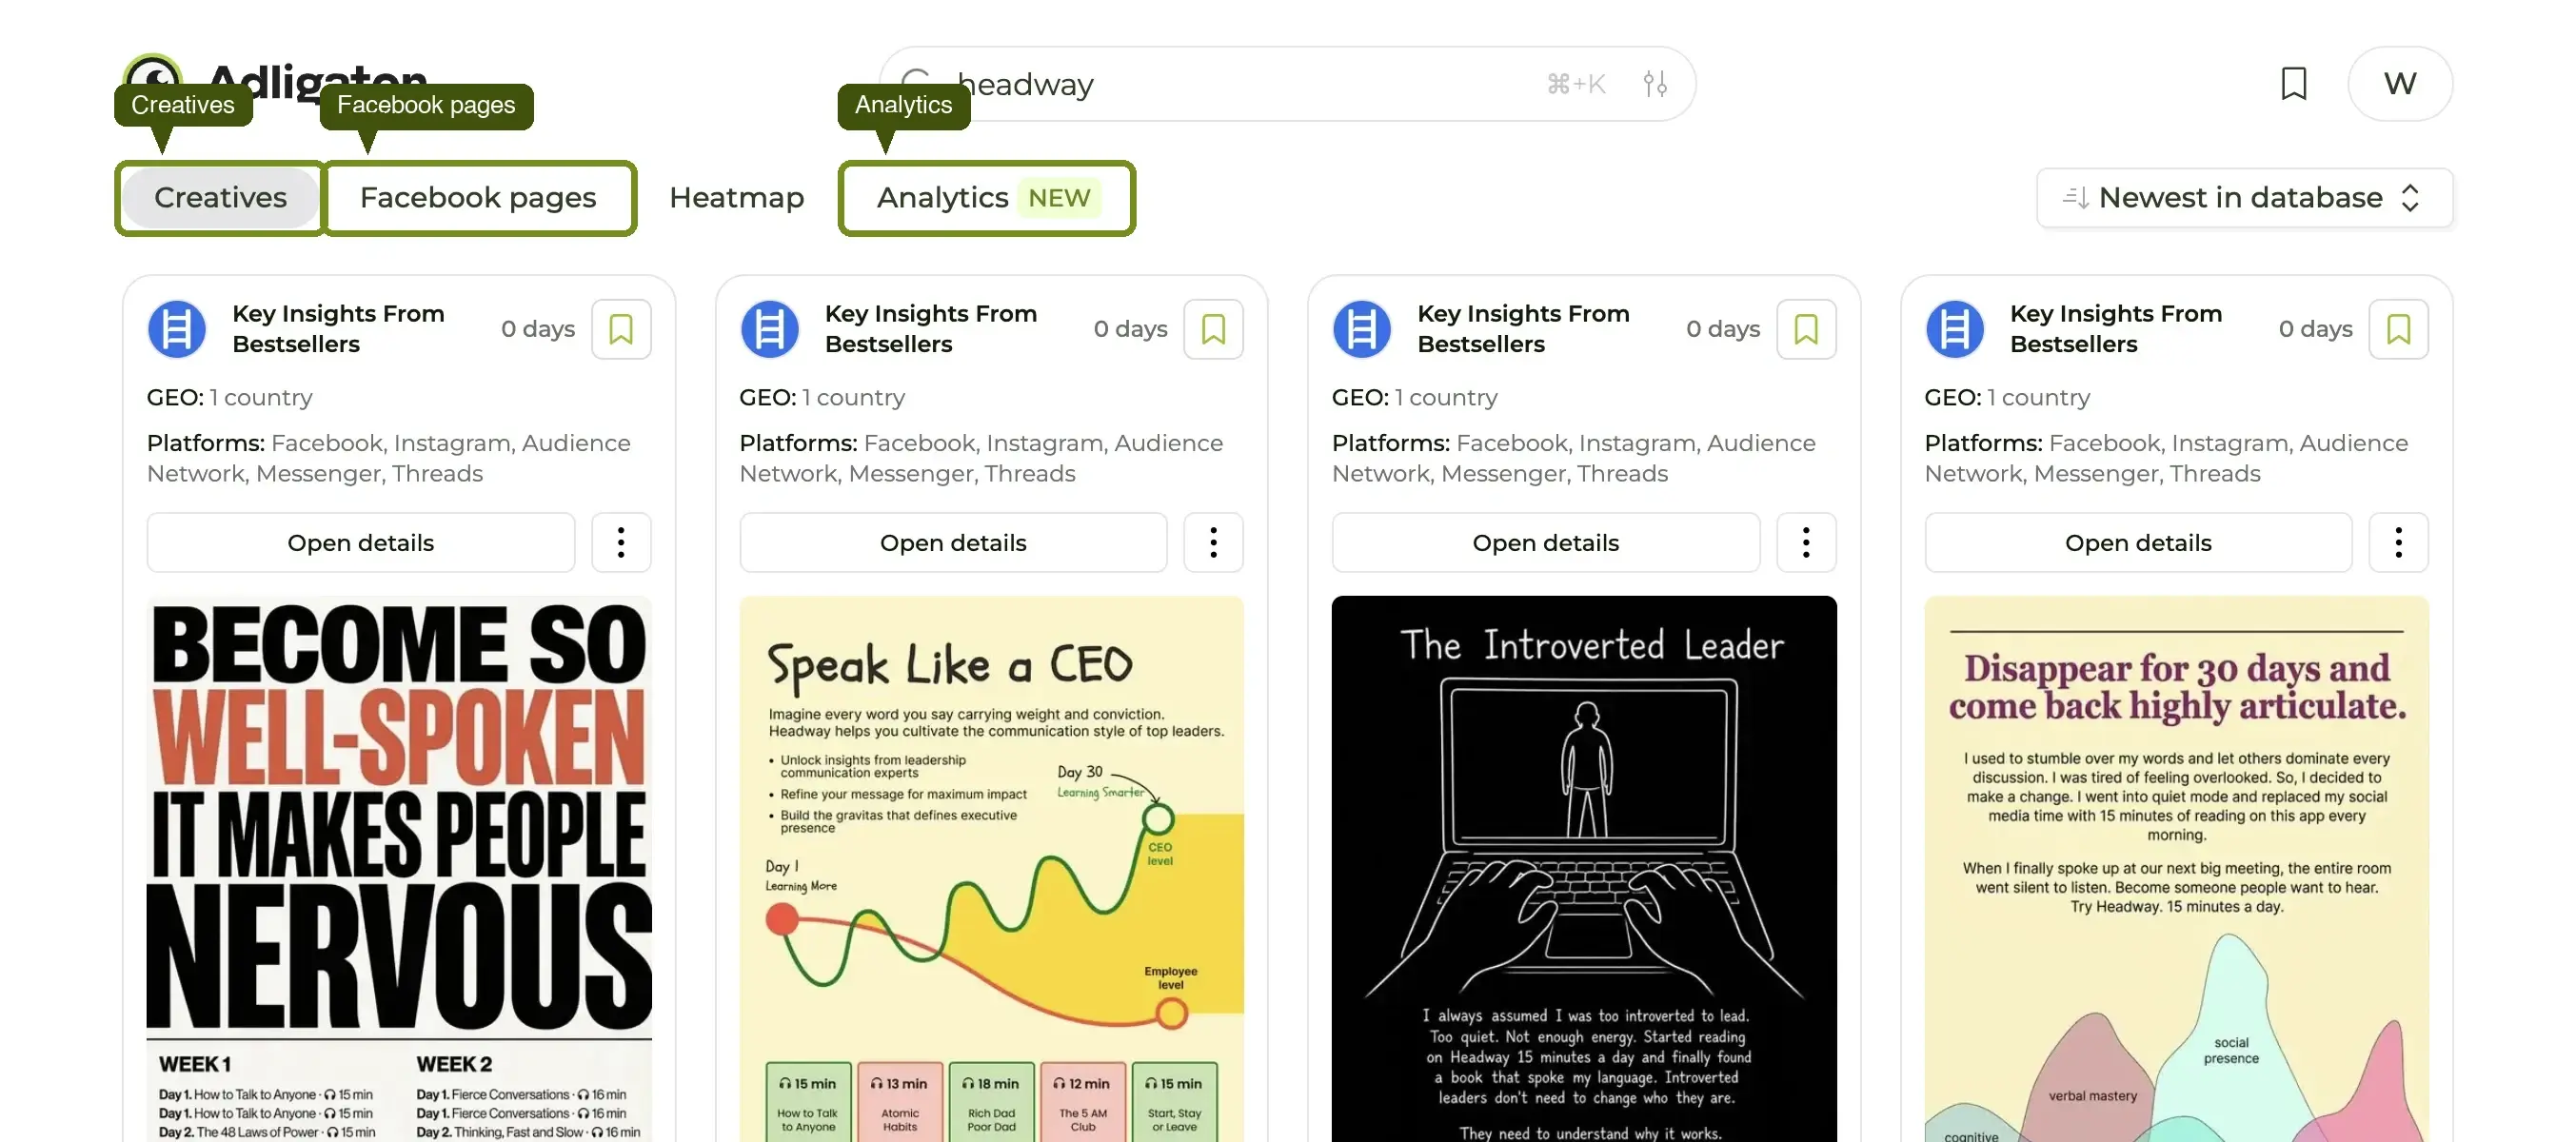
The sidebar holds three destinations: Ad Search, Trackers, Collections. Below them sits Saved searches — queries you have pinned. Each destination has its own tabs: Ad Search has Ad Results and FB Pages; a Tracker has Ad Results, Analytics and Partnerships. At the bottom of the sidebar is your account menu, which is also where dark mode and the interface language live.
Ad Search — the front door
Open this when you want to: find ads. Any ad, any brand, any vertical, any country.
Ad Search is what most people picture when they think of Adligator. One search bar at the top, an autocomplete panel underneath, and a grid of ads as soon as you type a brand or a keyword. Everything else in the app exists to do something to the ads you find here — save them, watch them, analyse them.
Two search modes share this screen:
- Phrase search — broad keyword match across ad copy. Best for "what is everyone in vertical X running?" research.
- FB page search — pick one specific Facebook page from the autocomplete and see only that advertiser's ads. Best for "what is competitor X running?"
The eleven filters (GEO, Days active, Platform, Media format, CTA, Visual Content and six others) all live here, behind the Add filter button. The filters deep dive covers each one.
Its two tabs
- Ad Results — the grid of individual ads. The default.
- FB Pages — the same search, listed as advertisers instead of ads. Each row is a Facebook page with its likes and total ad count.
FB Pages — every advertiser at a glance
Open this when you want to: confirm which Facebook page a brand actually advertises from, or survey who is advertising in a niche without reading individual ads.
The FB Pages tab lists pages, not ads. Each row shows the page name, avatar, page likes and the page's total indexed ads, with a Show ads button that jumps you back to Ad Results scoped to that page.
This solves three concrete problems:
- Brand-name collisions. Search
skincareand you will see five separate L'Oréal Paris pages and four Shopee pages. The FB Pages tab lets you see them side by side with their ad volumes and pick the right one. - Vertical sweeps. It tells you which pages run this kind of ad, ordered by size. Faster than reading 200 individual ads.
- Sanity checks. If a competitor seems to have "no ads", this tab tells you whether they have an indexed page at all.
One thing the columns do not tell you: how many of those ads matched your keyword. Read the Pages tab guide before you quote any of these numbers — this is the single most misread screen in the app.
Trackers — advertisers Adligator watches for you
Open this when you want to: monitor a brand over time instead of re-running the same search every Monday.
A Tracker is a monitored advertiser. Point it at a Facebook page and Adligator pulls that advertiser's new creatives every day, keeps the history, and unlocks two screens you cannot get any other way.
The Trackers page has two ways in: Track an Existing Advertiser (anything already in Adligator's database) and Track a New Advertiser (import a page straight from the Meta Ad Library, even if Adligator has never crawled it). Your existing trackers sit in a grid to the right, each with an Active badge.
Trackers watch advertisers, not keywords. If what you want to keep is a query — a keyword plus a set of filters — use Save Search instead. It pins the whole search to the sidebar under Saved searches.
Its three tabs
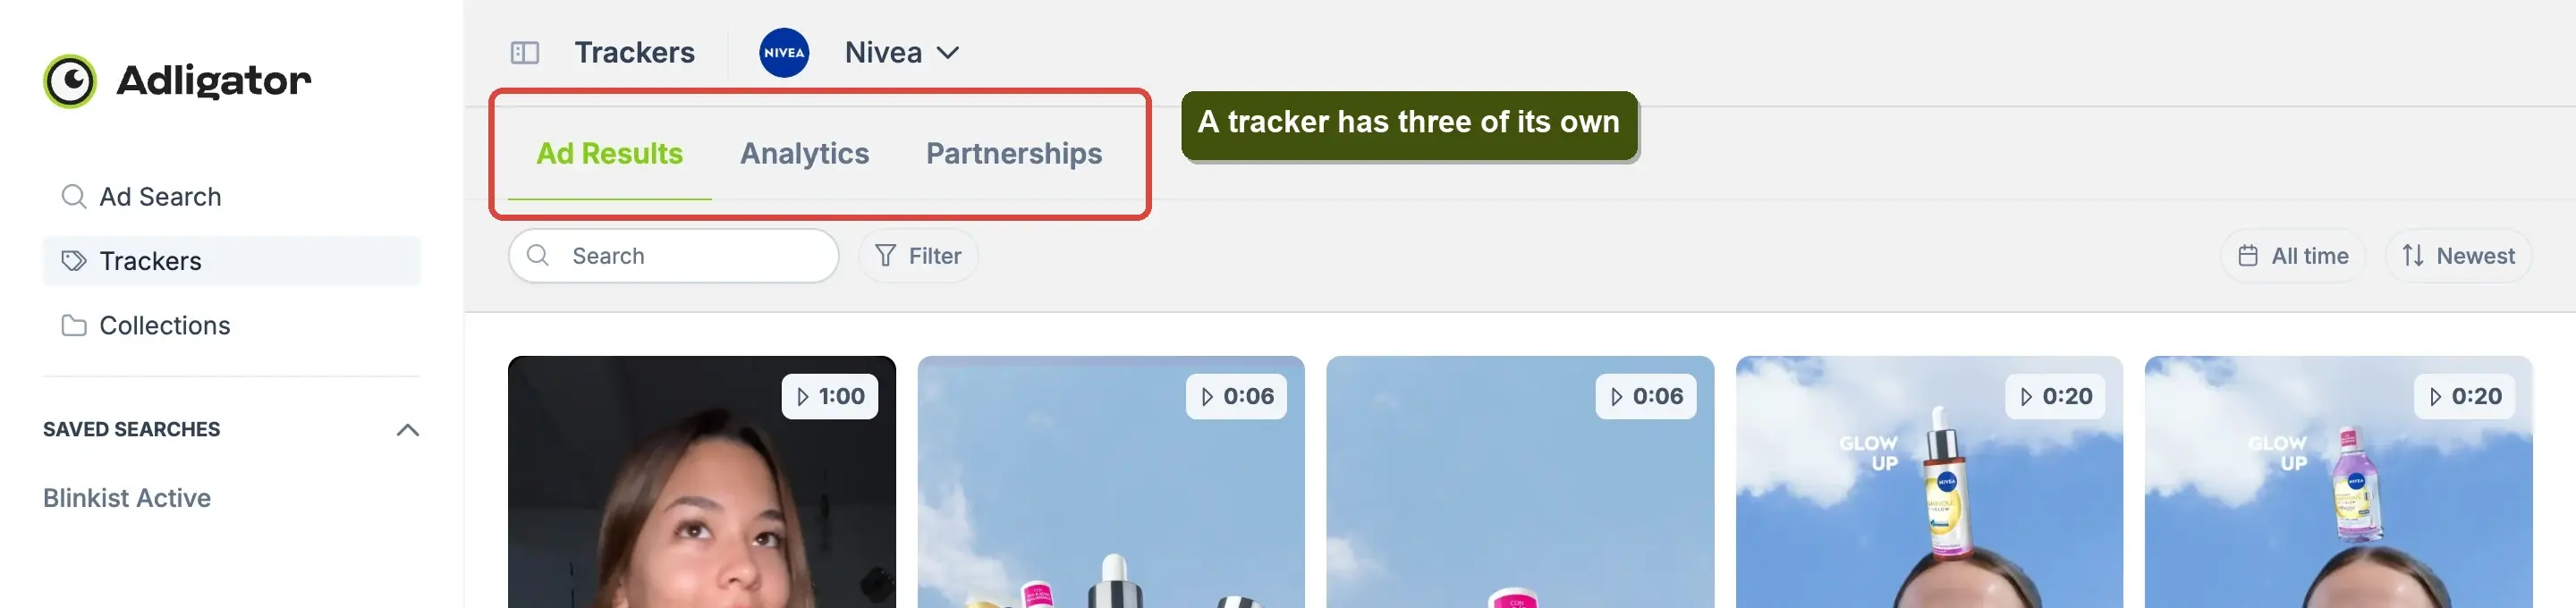
- Ad Results — that advertiser's ads, freshest first.
- Analytics — the pattern dashboard. See below.
- Partnerships — the creators and influencer pages this advertiser runs partnership ads with, with how many and when they last ran. The fastest way to find out who a brand actually pays.
Collections — the swipe folder
Open this when you want to: keep an ad worth remembering, or build a reference library you can hand to a designer.
Collections are folders of ads you have explicitly chosen to save. Hover any card and its save button drops the ad into a folder of your choice. In the Collections screen you can rename folders, share one by link, or export a folder to CSV.
A few rules of thumb:
- Save in the moment. If you spent twenty minutes finding an ad, save it. The same ad can drop out of Meta's library tomorrow.
- One folder per job, not one per competitor. "Q3 2026 hooks" is more useful than "SHEIN ads" — you will go looking for hooks, not brands.
- Trackers do not auto-save into Collections. A Tracker says "watch this"; a Collection says "keep this."
Analytics — pattern, not ads
Open this when you want to: see the shape of a brand's strategy rather than individual ads.
Analytics is the screen with no equivalent in Meta's native Ad Library. Open a Tracker, click Analytics, and you get that advertiser's data sliced five ways: a geographic heatmap, General (funnel destination + language mix), Launches (when they ship new creative, and how much), Content (their most-used headlines, CTAs, primary texts and links) and Visuals (colour palette and media mix).
Ad Search gives you the what. Analytics gives you the why now. The Analytics guide reads each panel in turn.
How it all fits together
Walking the app in this order also walks the maturity curve of a new account:
- Day 1 — Ad Search. Search, scroll, look at ads.
- Day 2 — Collections. You found something worth keeping. Save it.
- Week 1 — FB Pages. A vertical sweep gives you 5–10 advertisers worth watching.
- Week 2 — Trackers. Pin those advertisers. Stop re-searching.
- Month 1 — Analytics + Partnerships. Read the patterns. Move from "what are they running" to "what is their strategy, and who is running it for them."
The trap most new users fall into is staying at step 1 forever. The compounding value lives in steps 4 and 5 — that is when Adligator stops being a search engine and starts being a competitive-intelligence dashboard.
